
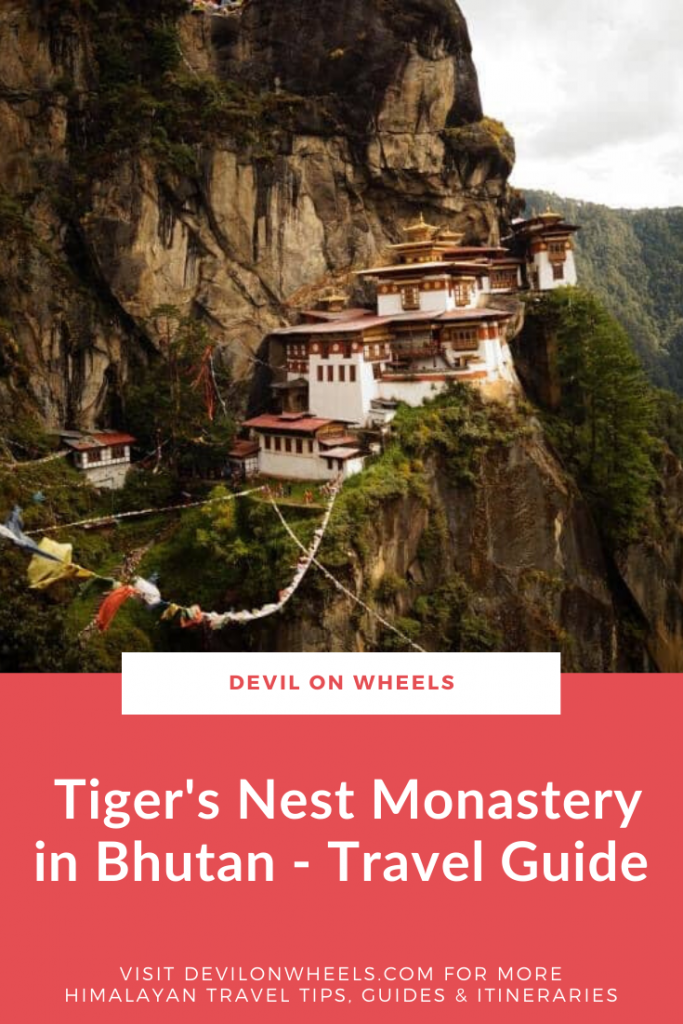
If you are planning a trip to Bhutan, hiking to the Tiger’s Nest Monastery is probably already on your list. And honestly, it should be. Paro Taktsang, as it is officially known, is the most iconic site in all of Bhutan, and the hike to reach it is one of the most rewarding things you can do in the Himalayas. In this guide, I will cover everything you need to know about the Tiger’s Nest hike in 2026, including the trail details, entry fees, what to carry, and practical tips that will help you plan better.
Let's quickly dive into the details:
What is the Tiger’s Nest Monastery (Paro Taktsang)?
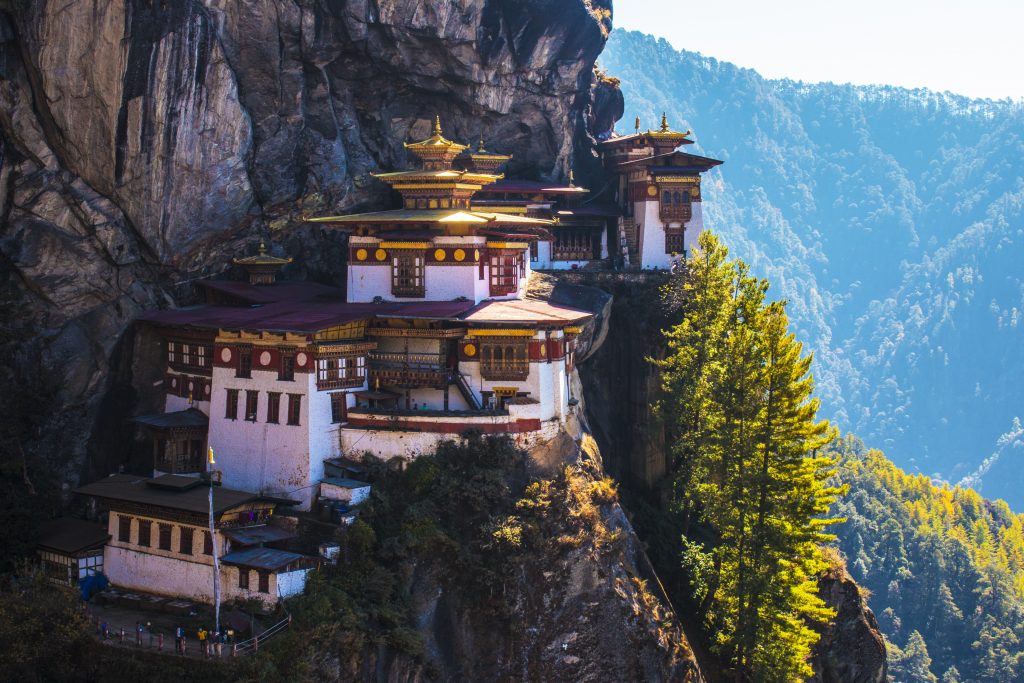
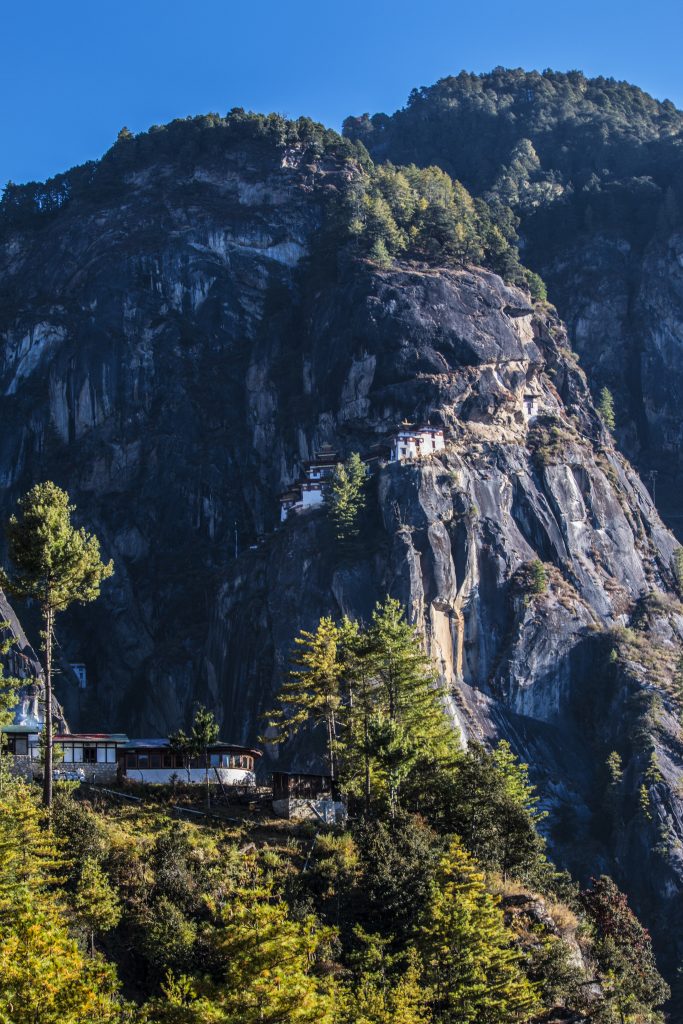
Tiger’s Nest Monastery, or Paro Taktsang, is a sacred Buddhist site built on the edge of a cliff, roughly 900 meters above the Paro Valley floor in Bhutan. The monastery sits at an altitude of about 3,120 meters (10,232 feet) above sea level. It was originally built in 1692, although the site’s spiritual significance dates back to the 8th century when Guru Rinpoche (Padmasambhava) is believed to have meditated here in a cave.
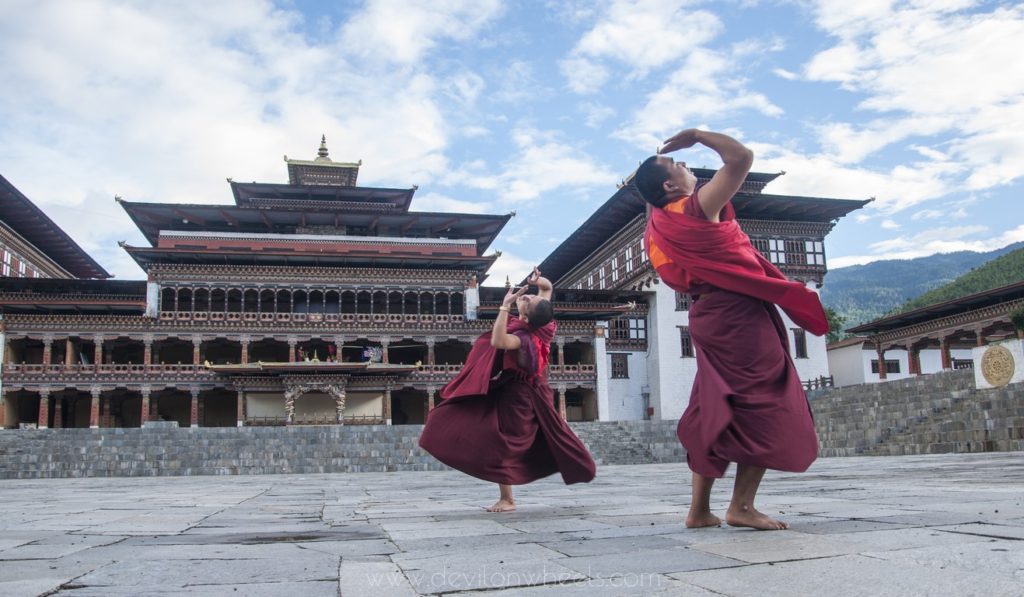
Today, the monastery complex consists of four main temples along with residential quarters for monks. Despite the daily flow of visitors, Paro Taktsang still functions as an active monastery. Keep in mind that no trip to Bhutan is truly complete without seeing the Tiger’s Nest. Whether you are in the country for three days or three weeks, this should be on your list of must-do experiences in Bhutan.
What is the History Behind Tiger’s Nest?
The history of Paro Taktsang goes back to the 8th century. In 747 AD, Guru Padmasambhava (also known as Guru Rinpoche) is said to have flown to this location on the back of a tigress. This is where the name “Tiger’s Nest” comes from. According to legend, the tigress was actually Yeshe Tsogyal, a consort of the Guru, who had transformed herself into the fearsome animal.
At this cave, Guru Rinpoche meditated for four months, taming the evil spirits that opposed Buddhism. He assumed the wrathful form of Guru Dorje Drolo and through his meditation, introduced Buddhism into Bhutan. The Guru also revealed the Mandala of Pelchen Dorje Phurpa and delivered teachings to his disciples at this very spot.
The first temple in the complex was built by the Nyingma Buddhist master Sonam Gyaltshen, believed to be around 1508. In 1645, the entire site was offered to Zhabdrung Ngawang Namgyel, the founder of the nation-state of Bhutan. The two-storied temple of the Eight Manifestations of the Guru was then built between 1692 and 1694 under the supervision of Gyalsey Tenzin Rabgye, the fourth temporal ruler of Bhutan.
The monastery was renovated multiple times over the centuries, with major additions between 1961-65, 1982-83, and 1992. On April 19, 1998, a tragic fire damaged the monastery significantly. It was later restored to its original glory by His Majesty Jigme Singye Wangchuck, the Fourth King of Bhutan. The restoration work took several years and was completed in 2005.
How Do You Reach Tiger’s Nest Monastery?
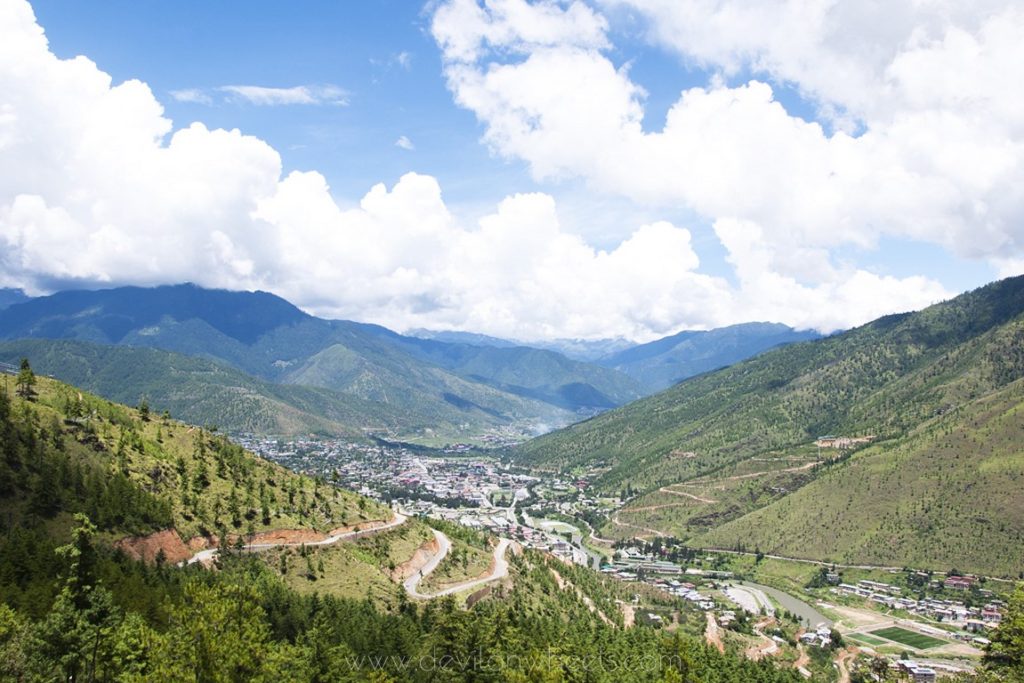
Tiger’s Nest Monastery is located about 10 km north of Paro town, roughly a 20-minute drive. You will be dropped at a parking area at the base of the trail (Ramthangkha). From here, the only way to reach the monastery is by hiking up, or by taking a horse for the first half. There is no motorable road to the top.
If you are flying into Bhutan, Paro International Airport is the entry point, and Tiger’s Nest is just a short drive away. Most travelers either visit on their first or last day in Bhutan. For Indians driving in via Phuentsholing or Samdrup Jongkhar, Paro is usually a 6-7 hour drive from Thimphu. You can check our Bhutan road trip itinerary to plan your entire journey.
Practical Info: Tiger’s Nest is open from 8 AM to 4 PM daily. Plan to leave Paro by 7-8 AM to avoid crowds and afternoon clouds. The full visit (hike up, monastery tour, hike down) takes 5-7 hours. Entry fee is Nu 500 per person (usually included in your SDF/tour package). Horse ride to the cafeteria costs Rs 700-1,000. No cameras, phones, bags, or shoes allowed inside the monastery.
What Are the Key Facts About the Tiger’s Nest Hike?
Before you start, here are the numbers you need to know. The trail is about 4.5 km one way from the parking lot to the monastery. The total elevation gain is approximately 900 meters (about 2,950 feet), and the highest point is at 3,120 meters (10,232 feet) above sea level. The round trip distance is roughly 9 km, and most people complete the entire visit in 5-7 hours, depending on fitness level and how much time they spend at the top.
The difficulty level is moderate. Anyone with average fitness can complete this hike, though the altitude and continuous uphill climb can tire you out. I suggest starting early in the morning. Not only will you avoid the crowd, but the weather is cooler and the light is beautiful for photography. If you reach the viewpoint by 11 AM, you will get the monastery in sunlight, which makes for stunning photos.


How is the Trail to Tiger’s Nest Divided?
Section 1: Parking Lot to Cafeteria (The First Half)
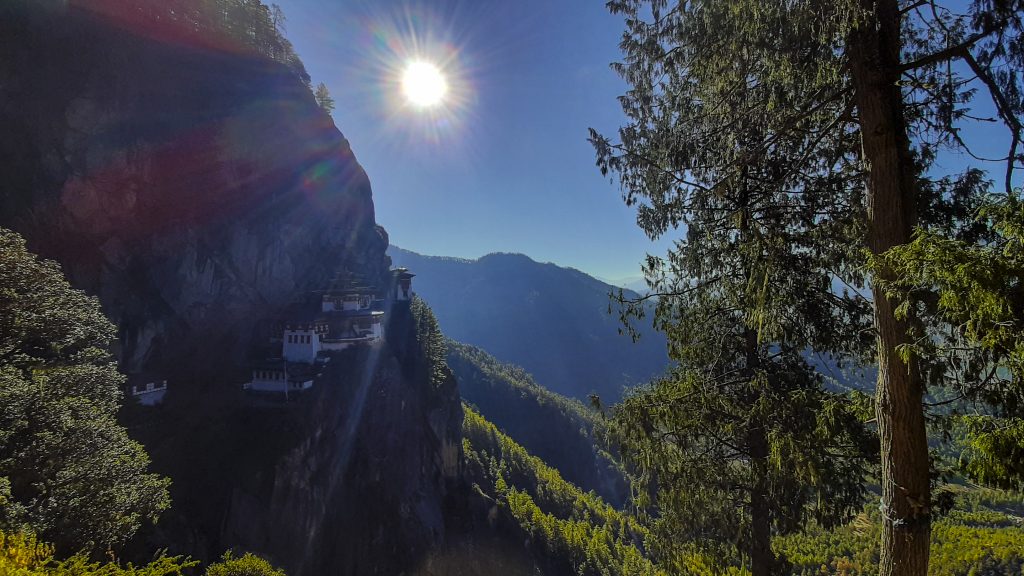
From the parking lot, you will immediately enter a forested trail. The path is a broad dirt track, mostly uphill, and shaded by pine trees. Within the first few minutes of clearing the tree line, you will get your first glimpse of the monastery perched high on the cliff face. That first view is genuinely motivating, it gives you a surge of energy to keep going.
This first section takes about 1 to 2 hours depending on your pace. The trail is well-marked and there are plenty of prayer flags along the way. If you are not comfortable hiking the entire distance, horses are available at the parking lot to carry you to the cafeteria (halfway point). The horse ride costs around Rs 700-1,000 one way. However, keep in mind that horses can only go up to the cafeteria, not beyond.

The Taktsang Cafeteria is at the halfway mark and is a great spot to rest. It offers basic meals, tea, coffee, and snacks. Budget about Nu 200-400 (roughly Rs 200-400) for a meal here. There are prayer wheels near the cafeteria, and the views of the monastery from this point are already quite impressive. Some people choose to hike only up to this point and return. While I understand if fitness is a concern, I would strongly suggest pushing to the top if you can. The real magic is in the final approach.
Section 2: Cafeteria to the Viewpoint
The second half of the hike is actually easier than the first. The trail levels out significantly after the cafeteria and the gradient becomes more gentle. You will pass through more prayer flags and get progressively better views of the monastery as you climb higher. This section takes about 30-45 minutes.
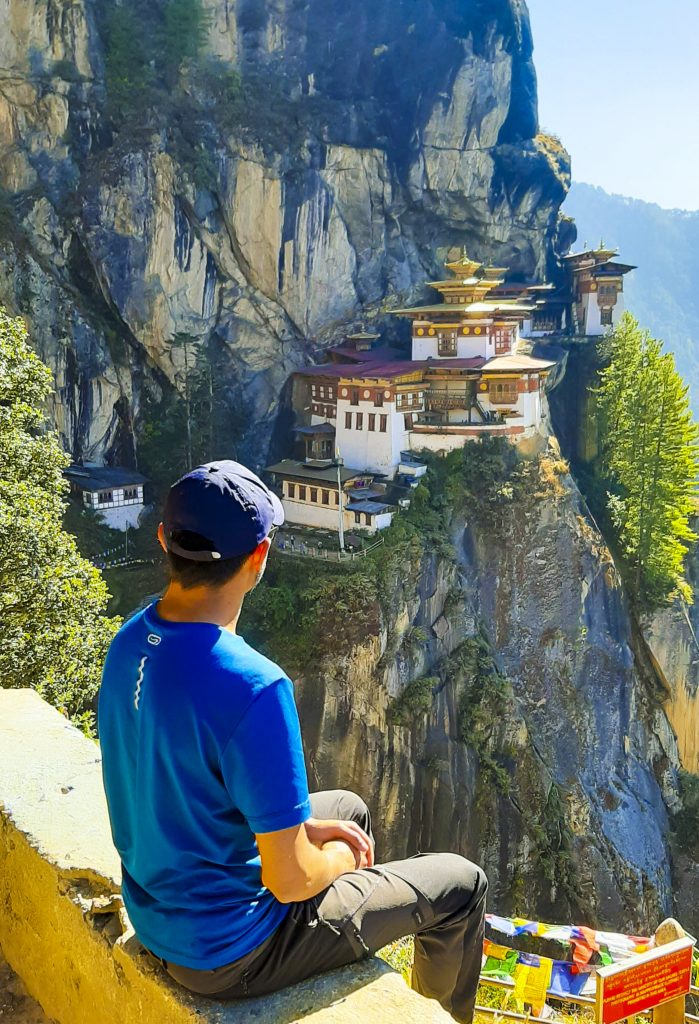
The viewpoint is where you will get that iconic photograph of Tiger’s Nest that you have seen all over the internet. The monastery appears across a deep gorge, clinging to the rock face with waterfalls cascading down below. In my opinion, this is the single best view of the entire hike. Spend some time here, take your photographs, and soak it all in before making the final push to the monastery itself.
Section 3: Viewpoint to the Monastery (The Final Push)
From the viewpoint, you will descend a stone staircase of roughly 700 steps into the gorge. At the bottom, you cross a bridge draped in prayer flags with a waterfall to your left. Then comes the final climb up to the monastery entrance, about 200 steps uphill. This last stretch can feel strenuous after the long hike, but the reward is worth every step.
At the monastery entrance, you must leave your backpack, camera, phone, and shoes with the security staff. Only your entry ticket (or guide’s confirmation) is needed. Your Bhutanese guide will take you through the four temple halls inside. The interiors are beautiful, with ornate paintings, butter lamp offerings, and a deeply peaceful atmosphere. Photography is strictly not allowed inside.
After the tour, you hike back the same way you came. The descent is obviously faster, typically 1.5-2 hours back to the parking lot.
When is the Best Time to Hike Tiger’s Nest?
The best months to visit are March to May (spring) and September to November (autumn). During these periods, the weather is clear, temperatures are comfortable for hiking, and you will get the best views and photography conditions. Spring also brings rhododendrons in bloom along the trail, which adds to the beauty.
October to December offers crisp, clear weather with excellent visibility, though it gets cold, especially in December. Winters (January-February) are cold but the trail is less crowded. The monsoon months (June to August) bring rain, making the trail slippery and the views often obscured by clouds. I would suggest avoiding the monsoon if you can. You can check our detailed guide on the best time to visit Bhutan through the year for more specific planning.
How Much Does the Tiger’s Nest Hike Cost for Indian Tourists?
As of 2026, here is a rough breakdown of the costs specific to the Tiger’s Nest hike for Indian tourists:
| Item | Cost (INR/BTN) |
|---|---|
| Bhutan SDF (per night) | Rs 1,200 per person per night |
| Tiger’s Nest entry fee | Nu 500 (approx Rs 500), usually included in tour package |
| Horse ride (to cafeteria, one way) | Rs 700-1,000 |
| Cafeteria meal | Nu 200-400 |
| Hiking pole rental (if needed) | Nu 50-100 |
| Cab from Paro to trailhead | Rs 500-800 (round trip, if separate from tour) |
Keep in mind that the SDF of Rs 1,200 per person per night is mandatory for all Indian tourists visiting Bhutan (as of 2026, confirmed through August 2027). Children aged 6-12 get a 50% discount, and children under 5 are exempt. The SDF covers tourism infrastructure development and is separate from your hotel, food, and transport costs. For a complete budget breakdown of a Bhutan trip, check our detailed guide on Bhutan trip cost.
What Should You Carry for the Tiger’s Nest Hike?
Here is what I suggest you carry for the hike. Keep it simple and light, you do not need heavy gear for this one:
- Hiking shoes or sturdy sports shoes: The trail is mostly dirt and stone, and proper footwear with good grip is essential, especially for the stone staircase section
- Water (at least 1-1.5 liters): There is no water source on the trail except the cafeteria, so carry enough
- Light snacks: Energy bars, dry fruits, or biscuits for quick energy between the cafeteria and the top
- Sunscreen and sunglasses: The Bhutanese sun at 3,000m altitude is strong, even if the air feels cool
- A light windbreaker or fleece: It can get chilly at the top, especially in the morning and during spring/autumn
- Hiking poles: Available for rent at the base (Nu 50-100), highly recommended for the descent as they save your knees
- Camera: But remember, you cannot take it inside the monastery. Leave it with security at the entrance
- Cash: For the cafeteria, horse ride, or souvenir shops at the base. Cards are not accepted on the trail
Do not carry a heavy backpack. A small daypack is sufficient. And please, carry all your trash back down with you. Bhutan takes responsible tourism very seriously.
What Permits Do Indian Tourists Need for Bhutan and Tiger’s Nest?
Indians do not need a visa to enter Bhutan. However, you do need the following:

- Entry Permit: Obtained at the port of entry (Phuentsholing, Samdrup Jongkhar, or Gelephu for road entry, or Paro Airport for flights). You can also apply online via immi.gov.bt.
- Route Permit: Required to travel beyond Paro and Thimphu. This is obtained from the Thimphu Immigration Office and typically arranged by your tour operator or guide.
- SDF Payment: Rs 1,200 per night for all Indian tourists. Must be paid before travel through a licensed tour operator or directly online.
For the Tiger’s Nest hike specifically, no separate trekking permit is required. The entry fee of Nu 500 is usually included in your tour package or SDF arrangement. However, you must be accompanied by a licensed Bhutanese guide to visit the monastery. Independent travel to Tiger’s Nest without a guide is not permitted for foreign nationals. For the complete permit process, check our detailed guide on Bhutan permits for Indians.
What Tips Should You Keep in Mind for the Tiger’s Nest Hike?
- Start early: Leave Paro by 7-8 AM. The monastery opens at 8 AM. Early starts mean fewer crowds, cooler temperatures, and better photography light by mid-morning.
- Take your time: This is not a race. Take as many breaks as you need. There is no shame in stopping to catch your breath. The altitude (3,000m+) means you will tire faster than at sea level.
- Best photography window: The monastery remains in shadow until about 11 AM. The golden hour in the evening is also excellent, but you need to time your descent accordingly.
- Dress modestly: You are visiting an active monastery. Cover your shoulders and knees. Shoes must be removed before entering the temple halls.
- Hire a horse if needed: If you have knee problems or low fitness, the horse ride to the cafeteria (Rs 700-1,000) saves significant energy for the harder second half. No shame in that either.
- Carry snacks and water: The cafeteria is the only food stop. Between the cafeteria and the monastery, there is nothing.
- Plan the full day: Do not schedule any other major activity on the day of your Tiger’s Nest hike. This will take 5-7 hours and you will be tired afterwards.
- Respect the monastery rules: No photography inside, no loud talking, no touching the artifacts. Leave your bags and electronics with security. Your guide will brief you on etiquette.
Can Kids and Elderly People Do the Tiger’s Nest Hike?
Yes, children aged 7 and above can manage this hike quite well if they are reasonably active. The trail is a steady climb, not a technical trek. That said, children will need more breaks and encouragement. Carry extra snacks and water for them.
For elderly visitors or those with mobility issues, the horse ride covers the first half. The second half (cafeteria to monastery) is easier in terms of gradient but includes the 700-step descent and 200-step climb at the end. If the steps are a concern, reaching the cafeteria or viewpoint is still a fulfilling experience with excellent views. Many visitors in their 60s and 70s complete the full hike at a comfortable pace.
If you are planning a Bhutan trip with family, you might also find our guide on solo travel tips for Bhutan useful, as many of the practical tips apply regardless of group size.
How to Plan Tiger’s Nest as Part of Your Bhutan Itinerary?
Most travelers visit Tiger’s Nest either on their first full day in Paro (if flying in) or as the final highlight before departure. I suggest keeping it for a day when you have already acclimatized a bit, especially if you are coming from sea level. Even though 3,000m is not extreme altitude, the continuous climbing can be taxing if you have just arrived.
A typical Bhutan road trip itinerary of 7-10 days will usually have 2 days in Paro, one of which is dedicated to Tiger’s Nest. If you are visiting Western Bhutan, Paro is your starting or ending point, and Tiger’s Nest fits perfectly into a half-day or full-day plan. Those exploring Eastern Bhutan or Central Bhutan typically save Paro for the return leg.
For budget travelers, check our tips for saving costs on a Bhutan trip. And if you are using public transport to get around Bhutan, our Bhutan public transport guide has all the bus schedules and fares you need.
Frequently Asked Questions
What is the best time to visit the Tiger’s Nest?
The best months are March to May (spring) and September to November (autumn). Spring brings rhododendrons and comfortable temperatures, while autumn offers crystal-clear skies and the best visibility. October-December is also good with clear weather, though it gets cold. Avoid June to August if possible due to monsoon rains that make the trail slippery and obscure views. Check our guide on the best time to visit Bhutan for month-by-month details.
What is the best time for photography at Tiger’s Nest?
The monastery stays in the shadow of the mountain until around 11 AM. So while starting early helps you avoid crowds, you will need to wait until midday for the best photographs with the monastery lit by sunlight. The golden hour before sunset also creates beautiful light, but you need to be at the viewpoint by then, which means timing your hike accordingly.
How difficult is the Tiger’s Nest hike?
The hike is moderate in difficulty. Anyone with average fitness can complete it. The trail is 4.5 km one way with 900m elevation gain. The first half (parking to cafeteria) is the steeper section. The second half is more gradual but includes a 700-step descent and 200-step ascent at the end. Take your time, carry water, and use hiking poles for the descent. The altitude (3,000m+) will make you breathe harder than a similar hike at lower elevation.
What should I carry for the Tiger’s Nest trek?
Carry hiking shoes, at least 1-1.5 liters of water, light snacks, sunscreen, sunglasses, a windbreaker, and cash for the cafeteria. Hiking poles (rent at base for Nu 50-100) are highly recommended for the descent. Keep your bag light. Cameras and phones must be left with security before entering the monastery.
Can kids do the Tiger’s Nest hike?
Yes, children aged 7 and above can handle this hike comfortably. The trail is a steady climb without any technical sections. Younger children may need more breaks and encouragement. Carry extra water and snacks for them. A horse ride for the first half is also an option to save their energy for the monastery visit.
Is there an entry fee for Tiger’s Nest Monastery?
Yes, the entry fee is Nu 500 (approximately Rs 500) per person. For most Indian tourists traveling through a tour operator, this fee is already included in the tour package or SDF arrangement. You also need to be accompanied by a licensed Bhutanese guide. Independent visits are not allowed.
Can I visit Tiger’s Nest without hiking?
You cannot drive up to the monastery, so some form of physical effort is required. However, horses are available at the base to carry you to the cafeteria (halfway point) for Rs 700-1,000. From the cafeteria, you would still need to walk. If you can make it to the viewpoint (about 30-45 minutes past the cafeteria), you will get stunning views even without going all the way to the monastery entrance.
Do I need a guide for Tiger’s Nest?
Yes, all foreign visitors (including Indians) must be accompanied by a licensed Bhutanese guide to visit Tiger’s Nest Monastery. This is a government requirement, not optional. Your guide will arrange entry, explain the history, and take you through the temple halls inside. If you are booking a Bhutan trip through a tour operator, a guide is always included in the package.
Conclusion
The Tiger’s Nest Monastery hike is, without exaggeration, the highlight of any Bhutan trip. The combination of the physical challenge, the spiritual atmosphere, and the jaw-dropping location makes it one of the most memorable experiences you can have in the Himalayas. Whether you are a first-time visitor to Bhutan or returning for another visit, this hike never gets old.
I hope this guide helps you plan your Tiger’s Nest hike with confidence. If you have any questions about the trek, Bhutan permits, or planning your itinerary, feel free to ask in the comments below. I will be happy to help. And if you know someone planning a Bhutan trip, do share this article with them 🙂 …
For other details about traveling to Bhutan, discussions, queries, and finding travel partners, please visit the DwD Community. You can also check the DoW Travel Calendar from the main menu of the website for upcoming group trips.
Last Updated: March 2026