
If you have ever scrolled through photographs of Ladakh and thought, “I want to capture something like that,” you are not alone. Ladakh is one of those rare places where the landscape does most of the heavy lifting for your camera. The light here is unlike anything you will find in the plains. It is sharp, clean, and changes dramatically between morning and evening. I have been traveling to Ladakh for over a decade now, and every single trip has taught me something new about shooting in this terrain. This guide covers the best photography locations in Ladakh, the ideal camera settings for high altitude, and how each season transforms the same locations into completely different frames.
Quick Info: Ladakh Photography at a Glance
| Best Season for Photography | June to September (summer), January to February (winter) |
| Golden Hour (Summer) | Sunrise 5:00-6:30 AM, Sunset 6:30-7:30 PM |
| Must-Have Gear | Wide-angle lens, CPL filter, extra batteries, UV filter |
| Permit Required | Yes, Inner Line Permit for Pangong, Nubra, Tso Moriri, Hanle |
| Altitude Range | 3,500m (Leh) to 5,600m (Khardung La) |
| Budget (Photography Trip) | INR 2,500-5,000/day depending on season and style |
| Last Updated | April 2026 |
What Are the Best Photography Locations in Ladakh?
Ladakh has more photogenic spots per square kilometer than almost any region I have traveled in India. But not all locations are created equal when it comes to the quality of light, the ease of access, and the diversity of compositions you can get. Here are the locations that consistently deliver strong photographs, organized by the type of shots they are best suited for.
1. Pangong Tso Lake
Pangong is probably the most photographed location in Ladakh, and for good reason. The lake sits at about 4,350 meters and stretches roughly 134 km across the India-China border. What makes it special for photography is the way the water changes color throughout the day. In the early morning, it looks almost steel grey. By mid-morning, it shifts to deep blue. Around noon, you get turquoise patches mixed with green, and by evening, the reflections turn golden.
Best time to shoot: Arrive 30 minutes before sunrise. The first light hitting the mountains behind the lake creates a warm glow on the peaks while the water stays calm enough for mirror reflections. The wind usually picks up by 10 AM, so your window for clean reflections is narrow.
Camera settings: Use f/8 to f/11 for maximum sharpness across the frame. A wide-angle lens (16-35mm) works best for capturing the sweeping shoreline. Keep ISO at 100-200 in daylight. For reflections, use a circular polarizing filter (CPL) at partial rotation. Full polarization at this altitude can make skies unnaturally dark.

2. Nubra Valley and Hunder Sand Dunes
Nubra Valley offers a completely different visual palette. The sand dunes at Hunder against snow-capped Karakoram peaks in the background create a contrast that looks almost surreal. The double-humped Bactrian camels on the dunes add a foreground element that is unique to this location. The valley is wide and the light is soft, especially during the golden hour when the dunes glow warm orange.
Best time to shoot: Late afternoon, around 4:30-6:30 PM in summer. The low-angle light creates long shadows on the dunes that add depth and texture. Morning light works too, but the dunes face south-west and catch the best light in the evening.
Camera settings: A telephoto lens (70-200mm) is excellent here to compress the layers of dunes, camels, and mountains. Use f/5.6 to f/8 for portraits of camels with blurred backgrounds. For landscapes, f/11 at ISO 100. Watch your white balance carefully as the sand can confuse auto-WB into producing bluish tones.
3. Thiksey and Stakna Monasteries
Thiksey Monastery is often compared to the Potala Palace in Lhasa because of its stepped architecture climbing up the hillside. For photography, the best vantage point is from the road below, where you can capture the entire monastery against the sky. Stakna Monastery sits on a small hill overlooking the Indus River, and from its rooftop, you get a panoramic view of the valley with the river curving through it.
Best time to shoot: Thiksey faces east, so it catches beautiful morning light. Be there by 6 AM for the sunrise glow on its white walls. Stakna works well in the afternoon when the light falls across the Indus valley. For interior shots at any monastery, the prayer halls are dimly lit, so keep in mind you will need a fast lens.
Camera settings: For exteriors, wide-angle at f/8, ISO 100-200. For interiors, a prime lens (35mm or 50mm) at f/1.8 to f/2.8, ISO 800-1600. A tripod helps for interior shots if photography is permitted. Always ask before shooting inside prayer halls.
4. Lamayuru Moonland
Lamayuru is unlike any other location in Ladakh. The eroded landscape around the monastery looks like the surface of the moon. These clay formations, carved by wind and water over centuries, create dramatic textures that photograph beautifully in harsh midday light. Yes, you read that right. This is one of the few locations in Ladakh where the strong midday sun actually works in your favor, because it brings out the textures and shadows in the clay formations.
Best time to shoot: Late morning to early afternoon for the moonland textures. For the monastery itself, sunrise or sunset when the warm light contrasts against the grey-brown formations.
Camera settings: Medium telephoto (50-100mm) works best for isolating interesting patterns in the moonland. Wide-angle for including the monastery in the composition. Use f/11 for landscapes, ISO 100. A graduated neutral density (GND) filter helps balance the bright sky against the darker terrain.
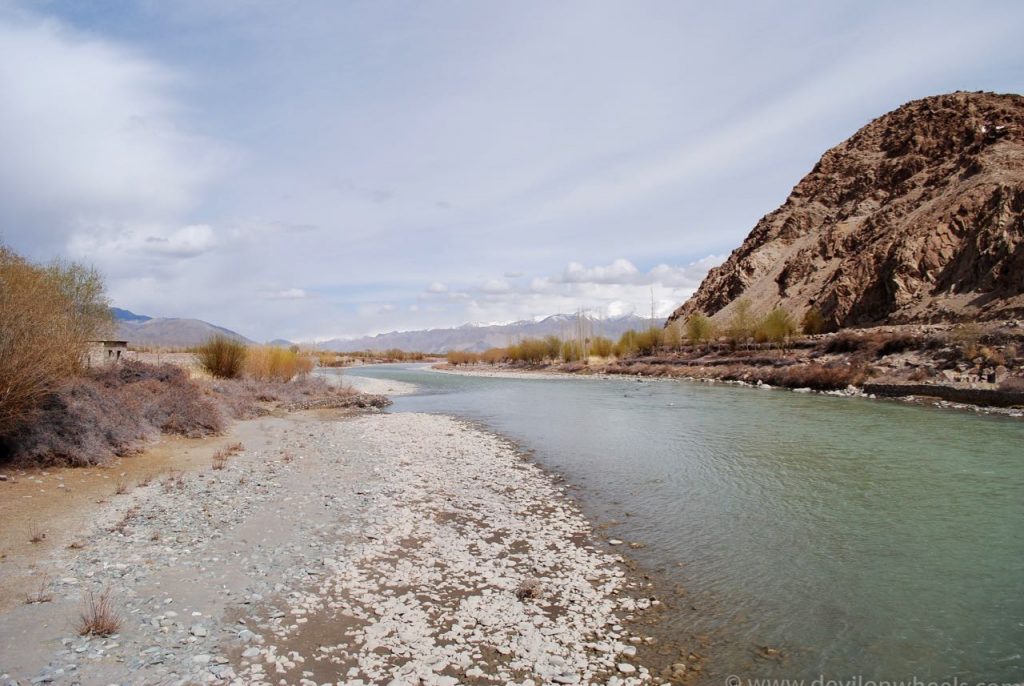
5. Sangam (Confluence of Indus and Zanskar Rivers)
The confluence of the Indus and Zanskar rivers near Nimmu is a photographer’s dream for color contrast. The muddy brown Zanskar meets the blue-green Indus, creating a visible dividing line in the water. The viewpoint from the road above gives you a clear vantage point to capture this phenomenon.
Best time to shoot: Late morning when the sun is high enough to illuminate both rivers clearly. The color contrast is most visible when neither river is in flood, typically July through September after the initial monsoon surge settles.
Camera settings: A telephoto lens (70-200mm) lets you fill the frame with the confluence point. Use a CPL filter to reduce water glare and enhance the color difference. f/8, ISO 100.

6. Tso Moriri Lake
Tso Moriri is less crowded than Pangong but equally stunning for photography. At 4,522 meters, this high-altitude lake is surrounded by barren mountains that change color with the light. The big advantage here is the lack of tourist crowds, which means cleaner compositions without people walking through your frame. Wild birds, including the bar-headed geese, add wildlife elements to your landscape shots.
Best time to shoot: Early morning for calm water and reflections. The wind is less severe here compared to Pangong, so you get a longer window for mirror-like reflections.


Camera settings: Similar to Pangong. Wide-angle at f/8-f/11, ISO 100. Bring a 100-400mm lens if you want to shoot the birdlife. Tso Moriri is one of the best locations in Ladakh for combining landscape and wildlife photography in a single frame.

7. Diskit Monastery and Maitreya Buddha
The 32-meter tall Maitreya Buddha statue at Diskit Monastery overlooking Nubra Valley is one of the most dramatic compositions in Ladakh. The statue against the vast desert-like valley below makes for strong foreground-background compositions. From the monastery terrace, you can see the entire Nubra Valley spread out below.
Best time to shoot: Morning, when the statue faces the rising sun and the valley behind is still in soft light. Late afternoon works for silhouette shots.
Camera settings: Wide-angle for including both the statue and the valley. A standard zoom (24-70mm) gives you flexibility. f/8 to f/11, ISO 100-200.

When Is the Best Season for Photography in Ladakh?
Each season in Ladakh creates a completely different visual experience. The same location shot in June and January will look like two different planets. Here is a month-by-month breakdown to help you plan your photography trip.
June to September: The Peak Photography Season
This is when most photographers visit, and for good reason. All roads are open, all lakes are accessible, and the weather is relatively mild. The light during this period is intense and clear because of the high altitude and low humidity.
June: Snow is still melting on the passes. You get a mix of green valleys and white peaks. The roads to Pangong and Nubra typically open by mid-June. Wildflowers start appearing in the valleys, adding color to foreground compositions.
July-August: Peak tourist season. Expect crowds at popular spots. The advantage is the greenest valleys and the fullest rivers. The Hemis Festival in July offers excellent cultural photography opportunities with masked dances and traditional costumes.
September: This is arguably the best month for photography. The crowds thin out, the skies are the clearest, and you start getting autumn colors in the valleys. The contrast between golden poplars and barren mountains is striking. The light has a warmer quality compared to the harsh summer sun.
Golden hour timing (summer): Sunrise in Leh is around 5:08 AM in mid-June, with sunset at approximately 7:36 PM. This gives you long golden hours, roughly 45-60 minutes both morning and evening. According to timeanddate.com, the longest day in Leh is June 22 with about 14 hours and 26 minutes of daylight.
October to November: Autumn Colors
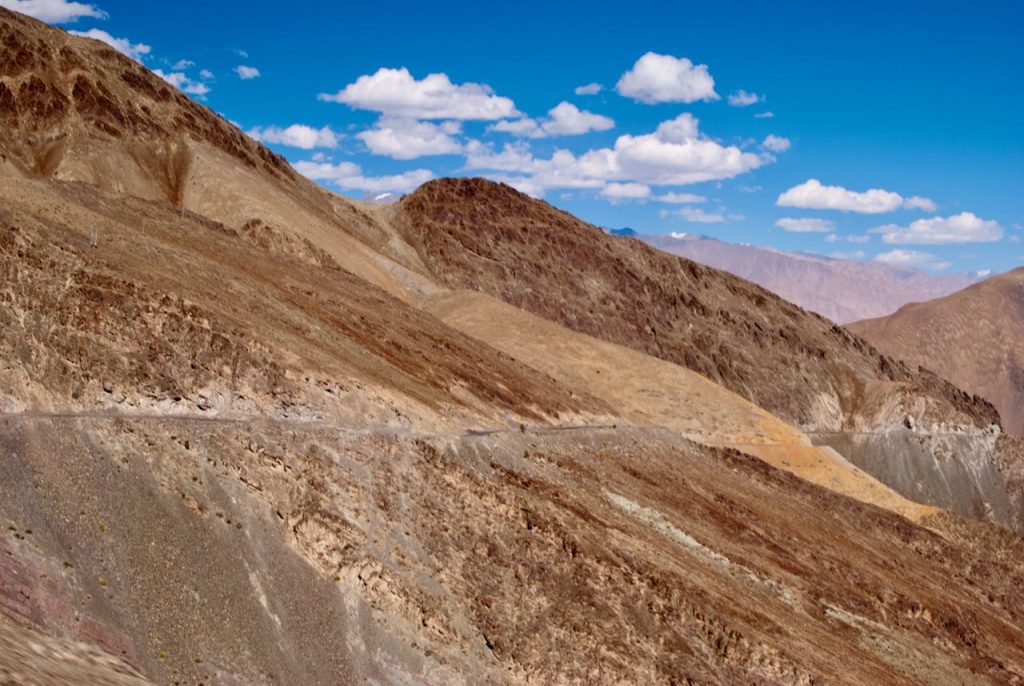
October brings the best autumn colors to Ladakh. The poplar and willow trees along the Indus Valley turn brilliant shades of yellow and orange. The combination of golden trees, blue sky, and snow-dusted peaks is as good as landscape photography gets anywhere in India. Keep in mind that some high-altitude roads and passes may start closing by late October depending on early snowfall.
January to February: Frozen Ladakh
Winter photography in Ladakh is for experienced travelers who can handle extreme cold. Temperatures drop to minus 20-30 degrees Celsius. Pangong Lake freezes completely, creating a dramatic white sheet of ice stretching to the horizon. The Zanskar River freezes into the famous Chadar, a sheet of ice that forms over the flowing river. Access during winter is by air only, as both the Manali-Leh and Srinagar-Leh highways close due to heavy snow.
Winter photography tip: Cold weather drains camera batteries extremely fast. Carry at least 3-4 fully charged batteries and keep the spares in an inside pocket close to your body. The sun reflecting off snow can also cause severe overexposure if you rely on auto metering, so use spot metering or manual exposure and add +1 to +1.5 stops of exposure compensation to prevent grey-looking snow.
What Camera Gear Do You Need for Ladakh?
You do not need the most expensive gear to get great shots in Ladakh. I have seen travelers capture stunning images on smartphones. That said, if you are carrying a camera system, here is what will serve you well, keeping in mind that you will be carrying everything at high altitude.
Essential Lenses
Wide-angle lens (16-35mm or 10-24mm for APS-C): This is your primary landscape lens. You will use it for lakes, valleys, monastery exteriors, and night sky shots. If you carry only one lens, make it a wide-angle.
Standard zoom (24-70mm): Versatile for general travel photography, monastery interiors, and portraits. Covers most situations.
Telephoto (70-200mm or 100-400mm): Essential for compressing mountain layers, isolating monastery details, and wildlife at Tso Moriri. Also excellent for the Sangam confluence and Hunder sand dune compositions.
Must-Have Filters
Circular Polarizing Filter (CPL): The single most useful filter for Ladakh. It deepens blue skies, reduces glare on water, and enhances cloud definition. However, use it at partial rotation at altitudes above 3,500 meters. Full polarization at high altitude turns the sky an unnatural near-black. This is a common mistake I see in Ladakh photographs online.
UV Filter: At altitudes above 3,500 meters, UV haze is more pronounced. A UV filter helps reduce the slight bluish haze you get in distant mountain shots. It also serves as lens protection against dust, which is a real concern on Ladakh’s unpaved roads.
Graduated Neutral Density (GND) Filter: Useful for balancing bright skies against darker terrain, especially at Lamayuru and during sunset shots. A 2-stop or 3-stop soft GND covers most situations.
Other Gear Essentials
Extra batteries (3-4 minimum): Cold temperatures and high altitude both drain batteries faster. Keep spares warm in your jacket pockets.
Memory cards: Carry at least 128 GB of total storage and back up to a laptop each night.
Sturdy tripod: Essential for golden hour, night sky, and long-exposure shots. A carbon fiber travel tripod with a hook for hanging your bag as ballast works well against Ladakh’s constant wind.
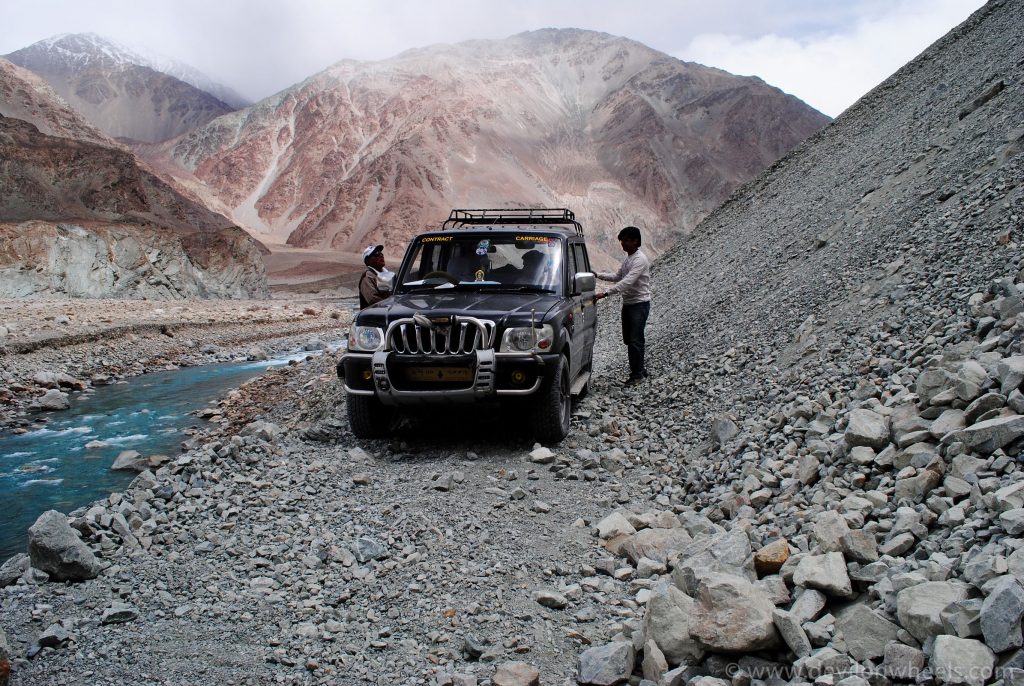
Dust protection: The roads in Ladakh are incredibly dusty. Carry a rocket blower and lens cleaning cloths. Change lenses inside your vehicle or inside a large zip-lock bag to minimize dust getting on the sensor.
How to Handle the Challenges of High-Altitude Photography?
Photography at 3,500 to 5,600 meters brings challenges you will not face in the plains. Here is what to expect and how to prepare for it.
Dealing with Harsh Light
The thin atmosphere at high altitude means the light is much more intense than at sea level. Shadows are deeper and highlights blow out faster. This high contrast can be tricky, especially between 10 AM and 4 PM. The solution is to shoot during golden hours whenever possible, and for midday shooting, use a GND filter or bracket your exposures for HDR processing later.

Wind and Camera Stability
Wind is constant at most photography locations in Ladakh, particularly at passes and near lakes. At Pangong, the wind picks up by mid-morning and stays strong until evening. Your tripod needs to be heavy enough or weighted down. Some photographers hang their camera bag from the tripod’s center column hook for extra stability.
Altitude Sickness and Its Impact on Photography
This is something most photography guides ignore, but it is critical. Acute Mountain Sickness (AMS) affects your ability to think clearly, hold the camera steady, and make creative decisions. If you fly directly into Leh at 3,500 meters, give yourself at least one full day of acclimatization before heading out to shoot. Drink plenty of water, avoid alcohol, and do not push yourself to hike to viewpoints on day one. I have seen photographers ruin their first two days by trying to shoot at Khardung La within hours of landing.
Protecting Your Gear
The combination of dust, cold, UV radiation, and bumpy roads means your gear takes a beating in Ladakh. Pack your camera bag with plenty of padding. Use a good quality camera bag that can handle rough conditions. Carry silica gel packets to absorb moisture. When moving from a cold outdoor environment to a heated room, let your camera warm up gradually in the bag to prevent condensation on the lens and sensor.
Night Sky and Astrophotography in Ladakh
Ladakh has some of the darkest skies in India, making it excellent for astrophotography. Hanle, home to the Indian Astronomical Observatory, is particularly good because it has minimal light pollution and sits at 4,500 meters. Pangong Lake and Tso Moriri also offer dark skies with the added benefit of water reflections in the foreground.
Camera settings for night sky: Use a wide-angle lens at the widest aperture (f/2.8 or wider is ideal). Apply the 500 Rule to determine your maximum shutter speed without star trails: divide 500 by your focal length. For a 24mm lens, that gives you approximately 20 seconds. Start with ISO 1600-3200 and adjust based on results. A sturdy tripod is non-negotiable, and use a remote shutter release or your camera’s timer to avoid shake.
Best months for Milky Way: The Milky Way core is best visible from June through September. New moon nights give you the darkest skies. Check the lunar calendar before planning your trip dates if astrophotography is a priority.
Smartphone Photography Tips
Not everyone carries a dedicated camera. If you are shooting on a smartphone, use HDR mode to handle the high-contrast lighting. Shoot in RAW or ProRAW if your phone supports it. Clean your phone lens frequently because the dust will make your photos look hazy. Turn on the grid overlay and horizon level, because at high altitude, you can lose your sense of horizontal and a tilted horizon is one of the most common mistakes in Ladakh photos.
Sample 7-Day Photography Itinerary for Ladakh
If you are planning a dedicated photography trip, here is a 7-day itinerary that covers the major locations with enough time at each spot for quality shooting. This assumes you are visiting between June and September.
| Day | Location | Photography Focus | Best Light |
|---|---|---|---|
| Day 1 | Arrive Leh, acclimatize | Shanti Stupa sunset, Leh Palace | Evening golden hour |
| Day 2 | Leh to Lamayuru (via Nimmu) | Sangam confluence, Moonland, Lamayuru Monastery | Late morning, sunset |
| Day 3 | Lamayuru to Leh (monastery trail) | Alchi, Likir, Phyang monasteries | Morning to afternoon |
| Day 4 | Leh to Nubra Valley via Khardung La | Khardung La, Diskit Monastery, Hunder dunes sunset | Morning pass, evening dunes |
| Day 5 | Nubra to Pangong via Shyok | Shyok River valley, Pangong sunset | All day, evening priority |
| Day 6 | Pangong sunrise, drive to Leh | Pangong sunrise reflections, Chang La | Pre-dawn, morning |
| Day 7 | Leh local sightseeing | Thiksey sunrise, Stakna, Hemis Monastery | Early morning |
Pro tip: If you can extend to 10 days, add a 2-day excursion to Tso Moriri and a night at Hanle for astrophotography. The extra days make a massive difference in the quality and variety of your portfolio.
For the complete road trip plan with distances, fuel stops, and accommodation options, check our detailed Ladakh itinerary guide.
Practical Tips for a Photography Trip to Ladakh
Beyond camera settings and locations, there are some practical considerations that can make or break your photography trip.
Permits: You need an Inner Line Permit for Pangong, Nubra Valley, Tso Moriri, and Hanle. These can be obtained online or through travel agents in Leh. Apply at least a day in advance.
Transport: For a photography-focused trip, a private vehicle gives you the flexibility to stop wherever the light looks good. Local taxis in Leh can be hired for multi-day itineraries. If you are on a budget, shared taxis and local buses run to most destinations, but they follow fixed schedules and will not wait for you to finish shooting.
Accommodation: Stay at Pangong and Tso Moriri for at least one night each. The best light at these lakes is at sunrise and sunset, and you cannot capture both if you are doing a day trip from Leh. Budget guesthouses and camps are available at both locations.
Respect local culture: Always ask permission before photographing people, especially monks and local villagers. Some monasteries restrict photography in prayer halls. Do not use flash inside monastery halls as it damages ancient murals and thangka paintings.
Network connectivity: Mobile network coverage is limited outside Leh. Postpaid connections (especially BSNL and Jio) work in most areas, but prepaid SIM cards do not work in Ladakh. Plan your uploads and backups accordingly.
Frequently Asked Questions About Ladakh Photography
Which is the best month for photography in Ladakh?
September is considered the best month for photography in Ladakh. The skies are clearest, the crowds have thinned, autumn colors are beginning, and all roads and passes are still open. June is also excellent if you want snow-capped peaks with green valleys.
Can I use a drone for photography in Ladakh?
Drone usage in Ladakh is heavily restricted because it is a sensitive border area. As per guidelines from the Indian Army, flying drones near military installations, airfields, and border areas is prohibited. Some areas near Pangong and Nubra are strictly off-limits. Check current regulations with the District Commissioner’s office in Leh before flying.
What camera settings work best for Pangong Lake?
For Pangong Lake, use f/8-f/11 for landscape depth. Keep ISO at 100 in daylight. A wide-angle lens (16-35mm) captures the sweeping shoreline. Use a CPL filter at partial rotation to enhance the lake colors without making the sky unnaturally dark. Arrive before sunrise for the calmest water and best reflections.
Is a full-frame camera necessary for Ladakh photography?
No. APS-C and Micro Four Thirds cameras work perfectly well. The advantage of full-frame is slightly better performance at high ISO (useful for astrophotography) and shallower depth of field. But for landscape photography in Ladakh’s bright daylight conditions, any decent camera will produce excellent results.
How do I protect my camera from dust in Ladakh?
Use a weather-sealed camera body if possible. Change lenses inside your vehicle or inside a large zip-lock bag. Carry a rocket blower and microfiber cloths. Keep a UV filter on your lens at all times as the first line of defense. Store your camera in a padded, dust-resistant bag when not shooting.
Can I photograph at Hanle Observatory?
You can photograph in the Hanle area, but the Indian Astronomical Observatory itself has restricted access. The surrounding landscape and village offer excellent photography opportunities. The dark skies around Hanle make it the best location in Ladakh for Milky Way and star photography.
What is the best lens for Ladakh travel photography?
If you can carry only one lens, a wide-angle zoom (16-35mm on full-frame or 10-24mm on APS-C) is the most versatile choice. If you can carry two, add a 70-200mm telephoto. The wide-angle handles landscapes and monasteries, while the telephoto compresses mountain layers and captures details.
How many days are enough for a photography trip to Ladakh?
A minimum of 7 days covers the major locations. However, 10-12 days is ideal for revisiting locations in different light, adding Tso Moriri and Hanle, and having buffer days for bad weather.
Do I need special permits for photography in Ladakh?
Standard tourist photography does not require special permits beyond the regular Inner Line Permit. However, commercial photography and film shoots require additional permissions from the District Commissioner’s office. Drone photography has separate restrictions due to the border proximity.
Is Ladakh good for wildlife photography?
Yes, but it requires patience. Tso Moriri is excellent for bar-headed geese and migratory birds. Hemis National Park is home to the snow leopard, though spotting one requires dedicated multi-day treks in winter. Marmots and wild asses (kiang) are commonly seen along the Changthang plateau.
Final Thoughts
Ladakh rewards photographers who plan ahead and respect the terrain. The key takeaway is this: the best photographs in Ladakh are not about expensive gear or perfect camera settings. They come from being at the right place at the right time, and that means waking up before dawn, staying past sunset, and having the patience to wait for the light to shift. The landscape will do the rest.
My personal recommendation? If this is your first photography trip to Ladakh, plan for September. The autumn light, clear skies, and thinner crowds create ideal conditions. If you have already been in summer, try a winter trip for a completely different visual experience. Either way, you will come back with photographs that you will be proud of for years to come.
If you have any questions about planning your Ladakh photography trip, feel free to ask in the comments section below. You can also join the DwD Community where travelers regularly share their best Ladakh shots and exchange tips on locations and timing. Safe travels, and happy shooting 🙂