
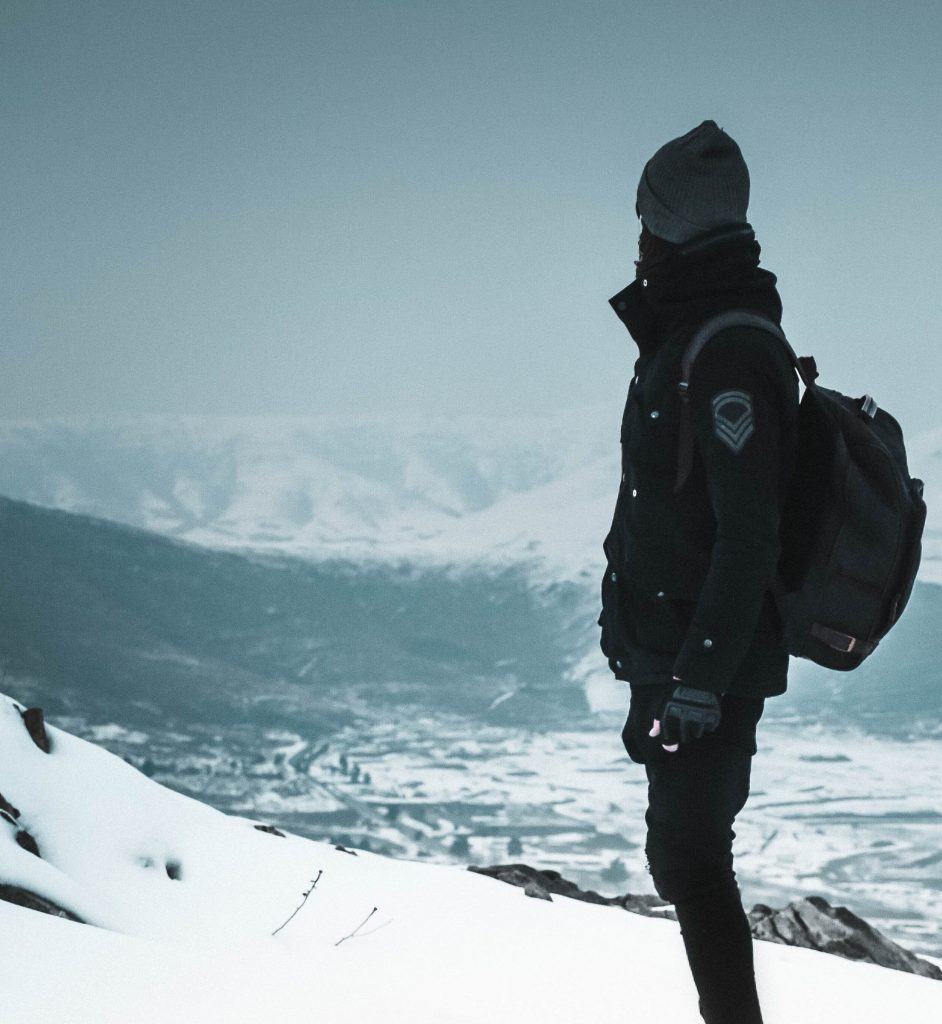
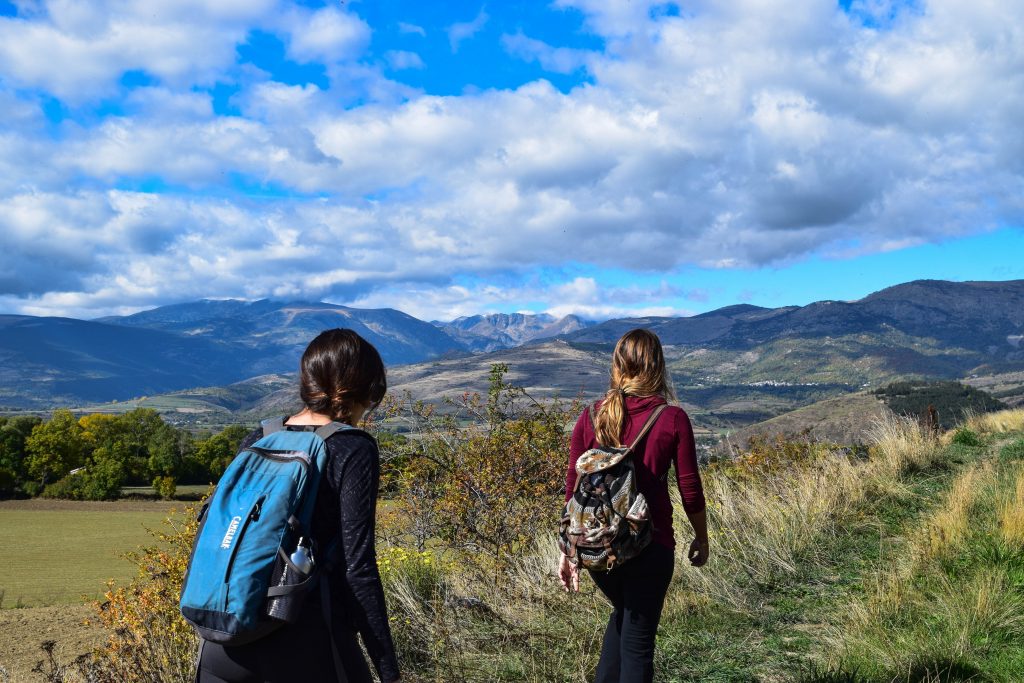
Your backpack is your survival kit, your mobile home, and your best travel companion rolled into one. After over a decade of backpacking through the Himalayas, from Ladakh’s high passes to Spiti’s remote valleys, I can tell you this with confidence. Packing a backpack is an art, and getting it right can make the difference between an enjoyable trip and an exhausting one. Whether you are heading out for a weekend trek to Triund or a 14-day road trip across Ladakh, how you pack matters just as much as what you pack.
Over the years, I have refined my packing approach through trial and error, sometimes painful error. I have carried bags that were too heavy up mountain trails, forgotten essentials at the worst possible times, and learned the hard way that a poorly packed backpack can ruin even the best-planned trip. In this guide, I am sharing everything I have learned so you can skip the mistakes and pack like a seasoned traveler from day one.
Let's quickly dive into the details:
What Size Backpack Do You Actually Need?
Before you even start packing, the first question to answer is whether your backpack is the right size for your trip. This is where most beginners go wrong. They either pick a bag that is too large (and fill it with unnecessary things) or too small (and end up strapping items outside awkwardly).
Here is a simple guide based on trip duration and type:
| Trip Type | Duration | Recommended Size |
|---|---|---|
| Day hike or city walk | 1 day | 15-25 liters |
| Weekend trek (Triund, Prashar Lake) | 2-3 days | 30-40 liters |
| Multi-day trek (Hampta Pass, Chadar) | 4-7 days | 50-60 liters |
| Extended backpacking trip | 10-20 days | 60-75 liters |
| International backpacking | 1 month+ | 40-50 liters (with discipline!) |
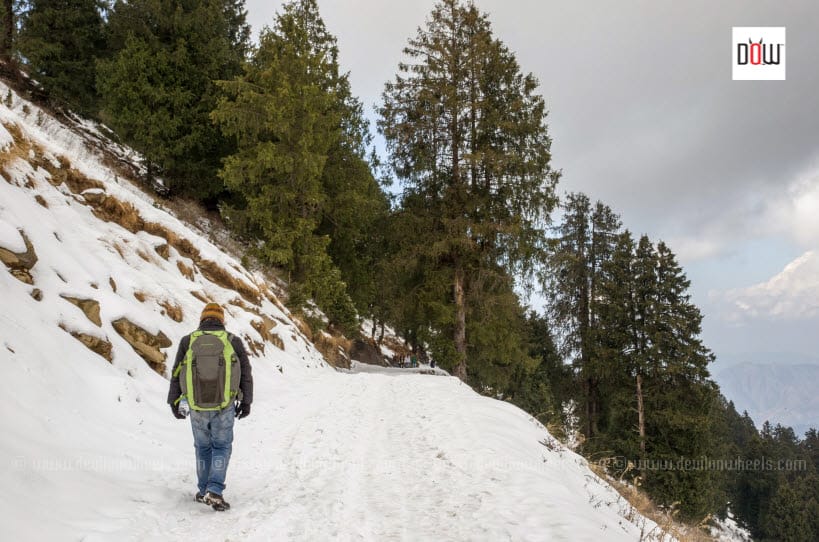
Keep in mind that a bigger backpack does not mean you should fill it to the brim. A 60-liter bag packed to 40 liters is perfectly fine. The extra space gives you flexibility for souvenirs or supplies you pick up along the way. For most Himalayan treks, I personally use a 50-liter rucksack and it has served me well across dozens of trips.
How Should You Distribute Weight Inside Your Backpack?
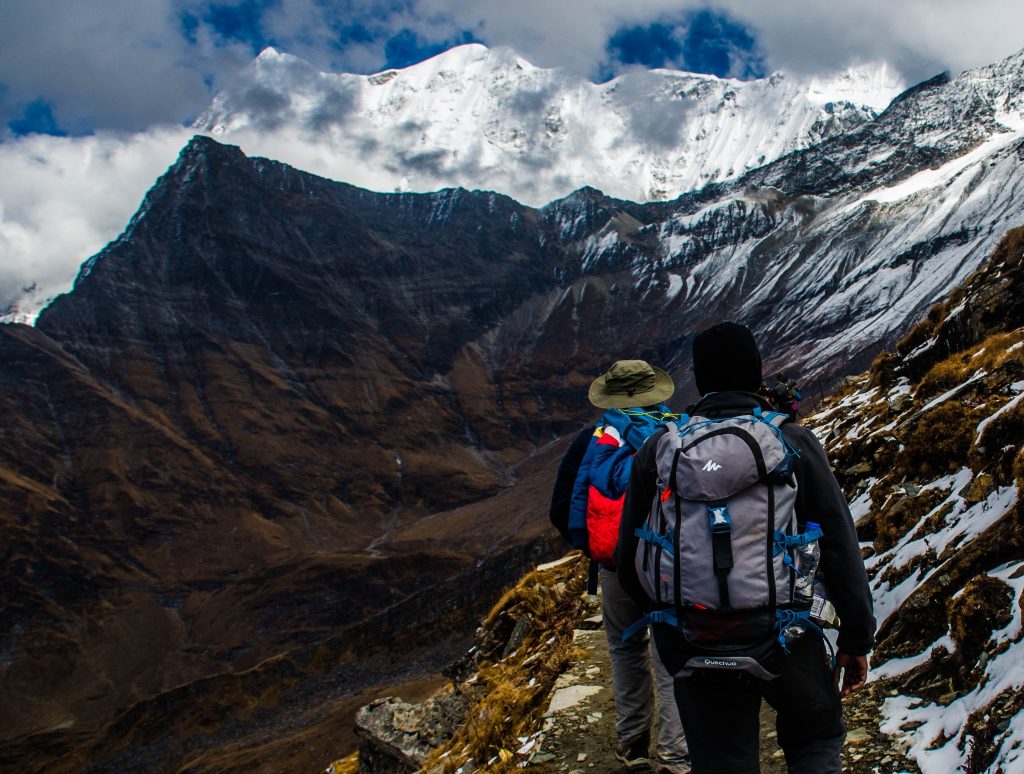
This is the single most important packing skill, and most people get it wrong. A badly distributed backpack pulls you backward on steep climbs, causes lower back pain within hours, and makes you unstable on rocky terrain. The three-zone packing system is what professional trekkers and mountaineers use, and it works brilliantly for regular travelers too.
Bottom Zone (Sleeping and Bulky Gear)
The bottom of your backpack should hold items you will not need until you stop for the night. Your sleeping bag goes here. If you are carrying a tent, the tent body (not the poles) can go here too. Spare clothes that you plan to change into at camp also belong in this zone. Many modern backpacks have a separate bottom compartment with its own zipper, which makes accessing your sleeping bag much easier. I always stuff my sleeping bag into a compression sack first to minimize the space it takes.
Core Zone (Heavy Items Close to Your Back)
The middle section, closest to your back, is where your heaviest items should go. This includes food supplies, water bladder or extra water bottles, cooking stove and fuel canisters, and any heavy gear. The science behind this is straightforward. Placing heavy items close to your center of gravity keeps you balanced and upright. If heavy items sit at the top or far from your back, the pack pulls you backward, and you end up leaning forward to compensate, which destroys your posture and energy over a long day.
Top Zone (Daily Essentials and Quick Access)
The top section is for things you need during the day without unpacking everything. Rain jacket, sunscreen, snacks, map, compass, headlamp, first aid kit. This zone should be organized so you can grab what you need in seconds. On Himalayan trails, weather changes fast, especially above 10,000 feet. You do not want to be fumbling through your entire bag when a sudden rain hits at Rohtang or Baralacha La.
Why Should You Review Every Item Before Packing?
Every gram counts when that backpack is on your shoulders for 6-8 hours a day. The single best habit I have developed is the “lay it all out” method. Before every trip, I lay out everything I plan to carry on my bed or floor. Then I go through each item and ask myself, “Will I actually use this? Can something else do double duty?” You will be surprised how many things you can eliminate.
For a typical Himalayan trek, here is what you actually need in terms of clothing: two to three quick-dry t-shirts, one thermal base layer (top and bottom), one fleece or insulated jacket, one waterproof outer layer, two pairs of trekking pants (convertible ones are great), three to four pairs of wool or synthetic socks (never cotton, they guarantee blisters), and undergarments for the trip duration plus two extra. That is it. You do not need five t-shirts, three sweaters, or that “just in case” formal shirt.
A good rule of thumb: if you are debating whether to pack something, you probably do not need it. Leave it behind. I have been on treks where people carried full-sized towels, multiple pairs of jeans, and even a hair dryer. Please do not be that person. 🙂
How Can You Make Items Do Double Duty?
Smart packers think in terms of versatility. Every item in your backpack should ideally serve more than one purpose. This approach to carrying multi-use items saves enormous space and weight.
Here are some examples that have worked well for me over the years. A buff or bandana works as a face cover against dust on Himalayan roads, a sweatband, a head cover for temple visits, and even a makeshift bag for carrying small items. A sarong doubles as a towel, a blanket on buses, a privacy curtain in homestays, and a picnic mat. Zip-off trekking pants convert between shorts and full-length pants, saving you from carrying a separate pair. A down jacket compresses to the size of a water bottle and works as a pillow when stuffed into its own stuff sack.
Few jackets can even be worn inside out, giving different colors for different outfits. Hence, be wise in your usage of clothes and shoes, and this way, you will be able to save a lot of space. Also, pack things that dry easily and are not high maintenance. Quick-dry fabrics are your best friend on the trail.


What Is the Right Way to Organize the Inside of Your Backpack?
Organization inside the backpack is what separates a frustrating travel experience from a smooth one. I have seen people dump everything loosely into their bag and then spend 10 minutes searching for their headlamp every evening. Do not do this.
Use packing cubes or dry bags. These are game-changers. Get three to four different-sized bags: one for clothes, one for toiletries, one for electronics, one for first aid. Color-code them if possible. When everything has a designated place, you can find things instantly even in the dark.

Roll your clothes, do not fold them. Rolling saves 20-30% more space compared to folding, and it also reduces wrinkles. I roll each item tightly and then pack them side by side vertically, like books on a shelf. This trick has helped me beyond measure in my years of travel. Not only do they stay clean and organized, visually, but I can also spot them better and remove them from my bag easily without disturbing the things packed in the vicinity.
Stuff socks and small items into shoes. Use every inch of space possible. Your shoes have empty space inside them, so use it. Roll up socks, a belt, or even a small power bank and stuff them into your shoes before placing the shoes in your bag or strapping them outside.
How Should You Use the Outer Pockets and Straps?
Those outer pockets exist for a reason, and ignoring them is a missed opportunity. Anything you need frequent access to should go in the side pockets, hip belt pockets, or the front mesh pocket. Sunglasses, tissues, water bottles, hand sanitizer, phone, snacks, lip balm. These are things you reach for constantly throughout the day.
The hip belt pockets are especially useful on treks. They sit right at your waist, so you can grab a trail mix or your phone without breaking stride. I keep my phone and a small ziplock with cash and ID in my hip belt pocket at all times during treks.
The compression straps on the sides of your backpack are meant to tighten everything down. After packing, always cinch these straps to prevent the load from shifting as you walk. A shifting load is not just annoying, it can actually throw off your balance on uneven terrain, which is a safety concern on Himalayan trails.
Why Should You Wear Your Bulkiest Items Instead of Packing Them?
This is one of the simplest packing hacks, and it makes a huge difference. If you have a pair of heavy trekking boots, wear them while traveling instead of stuffing them inside your backpack. The same applies to your heaviest jacket. Wear it or carry it draped over your arm. This instantly frees up significant space and weight from your bag.
On flights, this trick is even more valuable. Airlines weigh your checked and cabin bags, but they do not weigh you. So wearing your boots and heavy jacket can save you from excess baggage charges. I once saved almost 3 kg of bag weight just by wearing my trekking boots and down jacket to the airport. 🙂
How Do You Waterproof Your Backpack for Himalayan Weather?
Rain, river crossings, unexpected snowfall. If you are trekking in the Himalayas, your gear will get wet at some point. The question is whether your stuff inside stays dry.
Here is my three-layer waterproofing system that has never failed me:
Layer 1: Pack liner. Line the inside of your backpack with a large, heavy-duty garbage bag or a dedicated pack liner. This is your last line of defense. Even if the outside of your bag is soaked, everything inside stays dry.
Layer 2: Individual dry bags. Put your electronics, documents, and spare clothes in separate waterproof dry bags or ziplock bags. Even if the pack liner somehow fails, these individual bags protect the most critical items.
Layer 3: Rain cover. Use the rain cover that comes with most quality backpacks. Pull it over the entire bag when rain starts. Keep in mind that rain covers are not 100% waterproof in heavy rain, which is why layers 1 and 2 exist as backup.
This system has kept my camera, phone, and documents dry through monsoon treks, Zanskar river crossings, and surprise snowfall at Baralacha La. Trust the process.
What Are the Most Common Backpack Packing Mistakes to Avoid?
After years of observing fellow travelers on Himalayan trails, bus stands, and homestays, I have seen the same packing mistakes repeated over and over. Here are the ones you should actively avoid:
Packing “just in case” items. That extra sweater, third pair of shoes, backup backup charger. If you are not 90% sure you will use it, leave it. The weight adds up fast.
Ignoring the weather forecast. Check the weather for your destination and altitude before packing. A trek to Triund in June needs very different gear than one in December. Pack for the conditions you will actually face, not for every possible scenario.
Not testing your packed bag before the trip. Once you have packed, put the backpack on and walk around your house for 15-20 minutes. If something feels uncomfortable, dig in, hurts your shoulders, or shifts around, fix it before you leave. Discovering a packing problem on the first hour of a trek is not fun.
Carrying too much water. Water is heavy. One liter weighs one kilogram. On Himalayan treks, there are usually streams and water sources along the way. Carry a water purifier or purification tablets and refill along the route instead of carrying 3-4 liters from the start. Two liters is usually enough between refill points.
Forgetting locks. Do not forget locks for your backpack, especially when staying in hostels, dormitories, or leaving your bag at a hotel. The kind of travel you are embarking on will lead you into new territories, and you will not always be the most attentive. Good locks give you peace of mind.
What Should You Buy at the Destination Instead of Carrying?
This is a tip that experienced backpackers swear by. If you are not heading to an extremely remote location, you can buy many items after you arrive. Toiletries, basic medicines, snacks, water bottles, even warm layers in hill station markets. Places like Manali, Leh, and McLeodganj have plenty of shops selling trekking gear, thermal wear, and travel essentials at reasonable prices.
However, there is an important exception. In case you are heading to truly remote areas like Zanskar Valley, Pangi Valley, or deep into Spiti beyond Kaza, do not rely on local shops. Stock up on everything you need at the last major town. In these areas, shops are few, and they may not carry what you need. Keep this in mind when planning what to carry versus what to buy later.
What Is a Quick Packing Checklist for Himalayan Travel?
Based on my experience across dozens of Himalayan trips, here is a practical checklist you can use as a starting point. Adjust based on your specific destination, duration, and season.
| Category | Items |
|---|---|
| Clothing | 2-3 quick-dry t-shirts, 1 thermal set, 1 fleece jacket, 1 waterproof jacket, 2 trekking pants, 3-4 wool/synthetic socks, undergarments (trip days + 2 extra), 1 buff/bandana, 1 cap/hat |
| Footwear | 1 pair trekking shoes (worn), 1 pair lightweight sandals/flip-flops (for camp) |
| Gear | Headlamp + extra batteries, trekking poles, sunglasses (UV400), water bottle + purifier, rain cover for backpack, pack liner bag |
| Toiletries | Sunscreen (SPF 50+), lip balm with SPF, toothbrush/paste, biodegradable soap, hand sanitizer, tissue/wet wipes |
| Electronics | Phone + charger, power bank (20000 mAh), camera (optional), earphones, waterproof ziplock for electronics |
| Documents | ID proof (Aadhaar/passport), photocopies of IDs, permits if needed (ILP for Ladakh, etc.), cash in small denominations |
| Health | Personal medicines, basic first aid kit, Diamox (for high altitude), ORS packets, Band-Aids, pain relief spray |
| Sleep | Sleeping bag (for treks), sleeping bag liner (optional, for hygiene) |
Feel free to modify this checklist based on your needs. For a motorcycle trip, you will need to add riding gear and tools. For a trek at high altitude, add warmer layers and altitude medication. The core principle remains the same: pack only what you need, organize it smartly, and keep it light.
How Do You Adjust Your Backpack for a Comfortable Fit?
Packing the right items in the right order is half the battle. The other half is making sure the backpack sits on your body correctly. A poorly adjusted backpack causes shoulder pain, lower back strain, and even blisters on your hips within the first few hours.
Hip belt first. About 60-70% of the backpack weight should rest on your hips, not your shoulders. Tighten the hip belt so it sits snugly on your hip bones (the bony part you can feel at the front of your pelvis). This is the foundation.
Shoulder straps second. Tighten the shoulder straps so the pack sits close to your back without any gap. The straps should wrap over your shoulders comfortably, not dig into them. If they are digging in, the hip belt probably needs to take more weight.
Sternum strap last. The chest strap connects the two shoulder straps across your chest. Tighten it just enough to keep the shoulder straps from sliding off. It should not restrict your breathing.
Load lifters. Those small straps at the top of the shoulder straps, angled toward the top of the pack, are called load lifters. Tightening them tilts the pack weight closer to your body. Adjust these until the pack feels stable and balanced. You will notice an immediate difference on uphill sections.
Final Thoughts on Packing Your Backpack
The most important thing to do when packing is to add and subtract. Always add the things you cannot do without, and subtract those items you do not need. Tie your bag well. Use all the belts, straps, and compression systems to make it compact enough that you can carry it with ease. A well-packed backpack should feel like an extension of your body, not a burden dragging you down.
Remember, packing gets better with every trip. Your first attempt might not be perfect, and that is completely okay. After a few trips, you will develop your own system, your own set of essentials, and your own packing routine that works for you. The key is to start light, stay organized, and learn from each experience.
If you have any packing tips that work for you, or if you are a first-time backpacker with questions, feel free to drop a comment below or reach out on the DwD community page. We are always happy to help fellow travelers. Happy packing, my friend. 🙂
Last Updated: March 2026
Related Reading
- Trekking in Himalayas: A Comprehensive Guide for Beginners
- Must-Have Things to Carry on a Hiking or Trekking Trip
- The Ultimate Guide to Packing for Long-Distance Motorcycle Riding
- Top 5 Trekking and Hiking Shoes Under Rs 5000
- Tips for a Cold Weather Motorcycle Ride
Frequently Asked Questions
How do I pack a backpack so it does not hurt my back?
The key is weight distribution. Place your heaviest items in the middle of the pack, close to your back. Use the hip belt to transfer 60-70% of the weight to your hips instead of your shoulders. Tighten the compression straps so the load does not shift while walking. If your back hurts, the hip belt probably needs to be tighter and the shoulder straps need to be loosened slightly.
What size backpack do I need for a Himalayan trek?
For a weekend trek of 2-3 days, a 30-40 liter backpack is sufficient. For multi-day treks of 4-7 days like Hampta Pass or Chandratal, go for 50-60 liters. For extended backpacking trips of 10+ days, a 60-75 liter rucksack works best. If porters will carry your main bag, a 20-25 liter daypack is enough for the trail.
Should I roll or fold clothes when packing a backpack?
Always roll. Rolling saves 20-30% more space compared to folding and reduces wrinkles. Roll each item tightly and pack them side by side vertically, like books on a shelf. For delicate items or items prone to creasing, you can use packing cubes which keep things organized and compressed.
How do I keep my backpack contents dry in the rain?
Use a three-layer waterproofing system. First, line the inside of your bag with a heavy-duty trash bag or pack liner. Second, put electronics and documents in individual dry bags or ziplock bags. Third, use the rain cover that comes with your backpack. This combination works even in heavy Himalayan monsoon rain.

What should I pack at the bottom of my backpack?
The bottom zone should hold items you will not need until you stop for the night. Your sleeping bag (in a compression sack), spare camp clothes, and extra layers go here. Many backpacks have a separate bottom compartment with its own zipper for easy access to the sleeping bag without unpacking everything above it.
How heavy should my backpack be for trekking?
A general guideline is that your loaded backpack should not exceed 20% of your body weight for comfortable trekking. For most Indian trekkers, that means keeping it under 12-15 kg. On high-altitude treks above 14,000 feet where you tire faster due to thin air, aim for under 10 kg if possible. Every extra kilogram makes a noticeable difference at altitude.
Can I carry a backpack on Indian buses and trains?
Yes. Most HRTC and HPMC buses have rooftop luggage space for large backpacks. On Volvo and semi-deluxe buses, there is usually a luggage compartment below. On trains, a 50-60 liter backpack fits under the lower berth in sleeper and 3AC. Keep a small daypack with essentials (phone, wallet, water, snacks) accessible during the journey and store the main backpack securely.